

Introduction
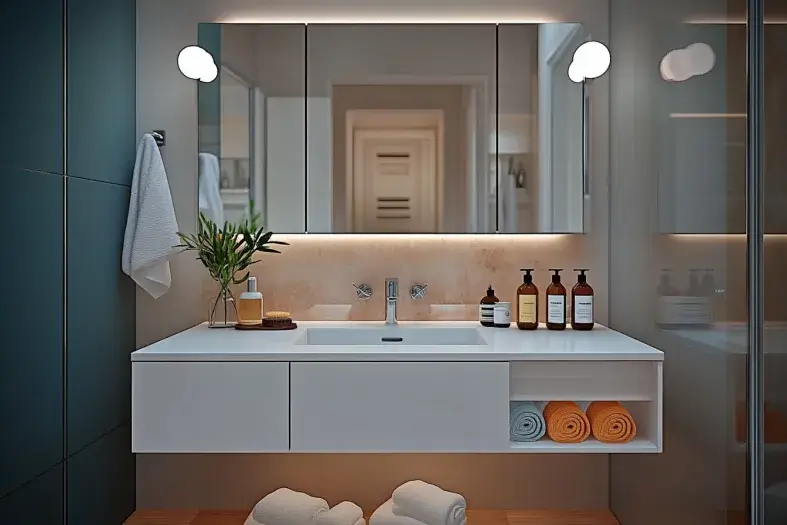
A bathroom vanity is the cornerstone of any bathroom design, combining style and functionality in one essential fixture. Not only does a well-chosen vanity provide storage for your toiletries, but it also houses your sink and complements your bathroom’s aesthetic. Installing a bathroom vanity is one of the most impactful upgrades you can make, transforming your bathroom’s look and boosting its practicality.
Whether you’re remodeling or simply replacing an old vanity, this guide will walk you through the entire process. Designed for DIY enthusiasts, our step-by-step instructions make it easy to install a bathroom vanity and achieve professional-looking results. Let’s dive in!
Understanding Your Bathroom Vanity Project
Installing a bathroom vanity involves several key factors. You’ll need to pick the right vanity type, assess your skill level, and plan the project timeline. There are many vanity styles, from rustic to modern, to match your bathroom’s look. A DIY vanity can save money and let you tailor it to your needs.
First, evaluate your skills and see if you need to learn new ones. Some projects need special tools like a brad nailer or laser level. Think about how much time and effort the project will take. For instance, making a vanity with a concrete countertop is detailed but can be cost-effective.
Types of Bathroom Vanities
Bathroom vanities come in different heights. Standard ones are 30 to 32 inches tall. Comfort height vanities are 34 to 36 inches. Custom vanities can be adjusted to fit anyone’s needs, perfect for families.
Required Skill Level
The skill needed for a vanity project depends on the design and materials. Some projects need basic carpentry, while others require plumbing or electrical skills. Know your abilities and don’t hesitate to ask for help if needed.
Project Timeline Expectations
The time it takes to install a vanity varies. Some projects can be done in a weekend, while others might take weeks or months. Make a timeline and follow it to stay on schedule and within budget.
| Vanity Type | Height Range | Description |
|---|---|---|
| Standard Height | 30-32 inches | Suitable for traditional bathroom designs |
| Comfort Height | 34-36 inches | Ideal for individuals with average to above-average height |
| Custom Height | Adjustable | Great option for families or individuals with varying heights |
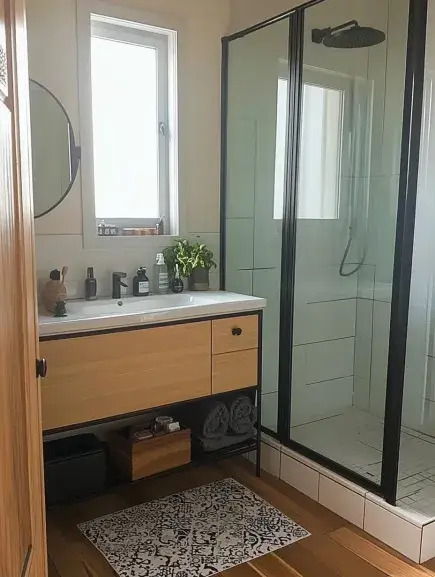
Choosing the Perfect Bathroom Vanity
There are many bathroom vanity styles and bathroom vanity designs to pick from. It can be hard to choose the right one for your bathroom. Think about your bathroom’s size and how many people will use it. A single sink vanity is good for small spaces, and a double sink vanity is great for shared bathrooms. For inspiration on incorporating farmhouse decor throughout your home, check out our guide on 10 Simple Farmhouse Decor Ideas to Transform Your Home.
Popular bathroom vanity designs include rustic, modern, and traditional. Rustic vanities have distressed finishes and open shelving. Modern vanities are sleek and simple. Look at the materials, like solid wood, and the hardware, like brass knobs. Here are some things to think about when picking a vanity:
- Height and accessibility
- Storage needs
- Style and design
- Material and durability
The best bathroom vanity styles and bathroom vanity designs depend on what you like, your budget, and your bathroom’s layout. By thinking about these things and looking at different options, you can find the perfect vanity. It will make your bathroom both functional and beautiful.
| Vanity Style | Description | Popular Features |
|---|---|---|
| Rustic | Distressed finishes, natural materials | Sliding barn doors, open shelving |
| Modern | Sleek, minimalist look | Wall-mounted, LED lighting |
| Traditional | Classic, elegant design | Ornate details, decorative hardware |
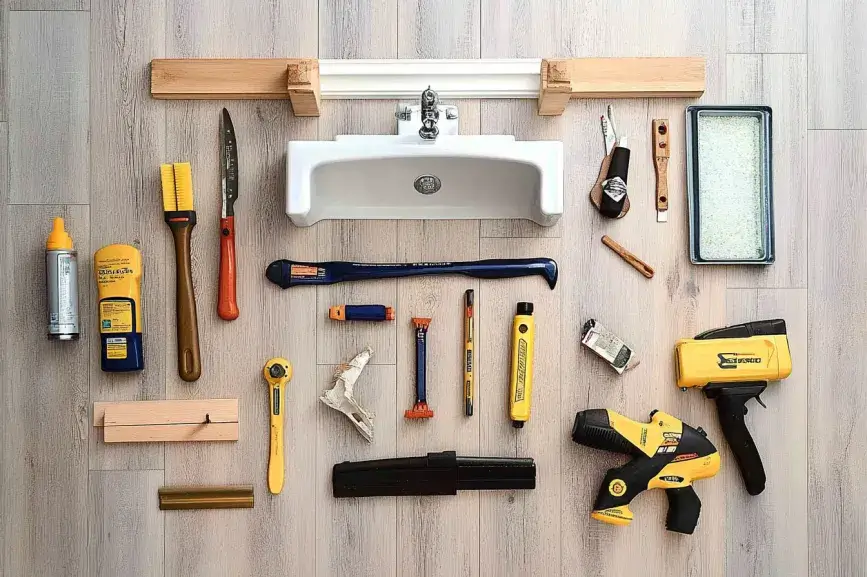
1: Gather Your Tools and Materials
Before beginning your bathroom vanity installation, ensure you have everything you need.
Tools:
- Measuring tape
- Level
- Screwdriver or drill
- Adjustable wrench
- Pipe wrench
- Utility knife
- Stud finder
- Caulk gun
- Bucket
- Pry bar (optional, for removing old vanity)
Materials:
- New bathroom vanity
- Faucet and drain assembly (if not included)
- Plumbing tape
- Silicone caulk
- Shims
- Screws and wall anchors (if necessary)
- Flexible water supply lines (if not included)
- P-trap (if needed for plumbing compatibility)
Having these tools and materials on hand will save time and keep the installation process smooth.
2: Prepare the Area
- Turn Off the Water Supply: Shut off the water valves under the sink. If your vanity doesn’t have individual shutoff valves, turn off the main water supply to your home.
- Remove the Old Vanity: Unscrew the existing vanity from the wall, disconnect the plumbing, and remove the sink. Use a utility knife to cut through any caulk securing the vanity to the wall or floor. If needed, use a pry bar to gently detach stubborn sections.
- Inspect the Plumbing: Check for any leaks, corrosion, or damage to the pipes. Address these issues before installing the new vanity.
- Clean the Space: Thoroughly clean the wall and floor area to remove debris, old caulk, or adhesive.
3: Assemble the Vanity Components
- Follow Manufacturer Instructions: Assemble any components of the vanity, such as attaching the countertop, sink, or cabinet hardware, per the instructions provided.
- Install the Faucet and Drain Assembly: Attach the faucet and drain to the sink before securing the vanity in place. This makes installation easier and provides better access to tighten fittings.
- Check Plumbing Compatibility: Ensure the faucet and drain assembly are compatible with your existing plumbing system.
4: Position the Vanity
- Place the Vanity: Position the vanity in your desired location, aligning it with the plumbing outlets.
- Level the Vanity: Use a level to check if the vanity sits evenly. If the floor is uneven, adjust the height using shims under the base.
- Mark Wall Studs: Use a stud finder to locate the studs in the wall and mark them for attaching the vanity securely.
5: Secure the Bathroom Vanity
- Drill Pilot Holes: Drill pilot holes through the back panel of the vanity, aligning them with the wall studs. This step prevents the wood from splitting.
- Attach the Vanity: Secure the vanity to the wall using screws. If wall studs aren’t available, use heavy-duty wall anchors for support.
- Double-Check Alignment: Ensure the vanity remains level and properly aligned with the plumbing fixtures.
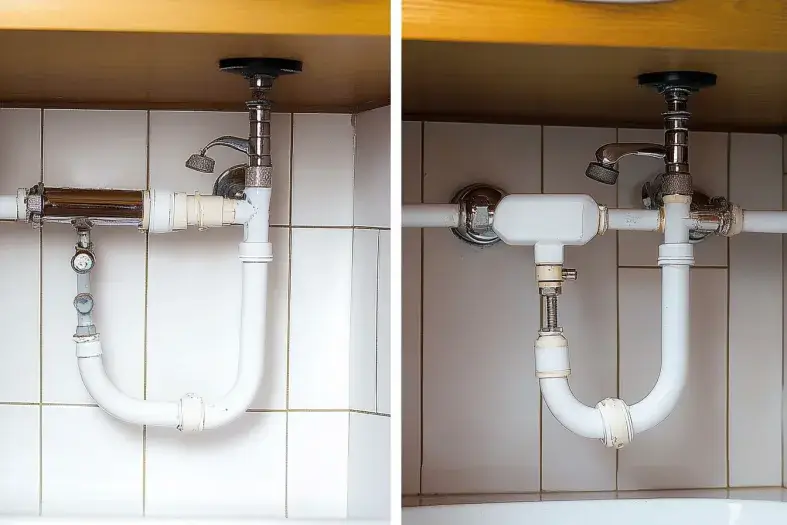
6: Connect the Plumbing
- Attach the Water Supply Lines: Connect the flexible water supply lines to the faucet using an adjustable wrench. Apply plumbing tape to threaded connections for a tight, leak-free seal.
- Install the Drain Pipe: Attach the P-trap to the sink drain and connect it to the waste pipe. Ensure all connections are tight but not over-tightened, which can damage fittings.
- Test for Leaks: Turn on the water supply and run the faucet. Check all connections for leaks and tighten as necessary.
7: Seal and Finish
- Apply Silicone Caulk: Run a bead of silicone caulk along the edges where the vanity meets the wall and countertop. Smooth it out with your finger or a caulk finishing tool for a clean finish.
- Install Accessories: Attach any additional hardware, such as drawer pulls, knobs, or towel holders, to complete the look.
- Clean Up: Wipe down all surfaces and remove any excess caulk or adhesive.
Additional Tips for Success
- Measure Twice, Cut Once: Double-check all measurements before cutting or drilling. This ensures a perfect fit and minimizes mistakes.
- Plan for Ventilation: If your vanity is against an exterior wall, avoid sealing over air gaps that may allow for proper ventilation.
- Keep Spare Parts Handy: Save extra screws, wall anchors, and leftover plumbing tape for future repairs or adjustments.
Common Installation Challenges and How to Overcome Them
- Uneven Floors or Walls: Use shims to level the vanity and caulk to fill gaps between the wall and the vanity.
- Mismatched Plumbing: Use flexible supply lines or consult a plumber to adjust pipes for a proper fit.
- Heavy Components: If the vanity is large or heavy, consider asking for assistance during positioning and assembly.
- Tight Spaces: Use compact or wall-mounted vanities for small bathrooms to maximize space.
- For more tips on handling common plumbing challenges, visit This Old House.“
Eco-Friendly Bathroom Vanity Tips
- Opt for vanities made from sustainable materials like bamboo or reclaimed wood.
- Use low-flow faucets to reduce water consumption.
- Consider repurposing old furniture, such as a vintage dresser, into a unique and eco-friendly vanity.
- Explore eco-friendly materials and designs at Green Building Supply.
Vanity Lighting and Mirror Selection
Enhance your vanity installation by adding:
- Lighting: Install sconces or LED strips around the mirror for better illumination.
- Mirror: Choose a functional mirror that complements the vanity, such as backlit, frameless, or ornate framed designs.
- Explore eco-friendly materials and designs at Green Building Supply.
Maintenance Tips for Your New Bathroom Vanity
- Wipe down surfaces regularly with a damp cloth to prevent water stains and buildup.
- Avoid harsh chemicals that can damage the finish or countertop.
- Check plumbing connections periodically for leaks or wear.
- Reapply caulk around edges as needed to maintain a waterproof seal.
Upgrading Beyond the Vanity
Consider complementing your new vanity installation with these upgrades:
- Backsplash: Add a stylish tile backsplash for a polished look and extra wall protection.
- Flooring: Upgrade to waterproof flooring like tiles or vinyl planks for durability.
- Accessories: Include towel racks, organizers, or matching hardware for a cohesive design.
Adding Final Touches
Now that your bathroom vanity is in, it’s time for the final steps. You’ll need to install knobs or handles to finish it off. The hardware you pick should match your vanity’s style and your taste.
Don’t forget about caulking and sealing. They keep water from getting behind the vanity and causing harm. Also, make sure all connections are tight and working right.
Here are some tips for the final touches on your bathroom vanity:
- Choose hardware that complements the style of your vanity and bathroom
- Apply caulk and sealant to all areas where the vanity meets the wall or floor
- Test all connections, including water supply lines and drain pipes, to ensure they are secure and functioning properly
By following these tips, you can make your bathroom vanity look professional and work well. Think about the look you want for your bathroom vanity finishing. Adjust as needed to get the look you desire.
| Task | Importance | Tips |
|---|---|---|
| Installing hardware | High | Choose hardware that complements the style of your vanity |
| Caulking and sealing | High | Apply caulk and sealant to all areas where the vanity meets the wall or floor |
| Testing connections | High | Test all connections, including water supply lines and drain pipes |
Frequently Asked Questions (FAQ)
Q1: Can I install a bathroom vanity by myself, or do I need a professional?
Installing a bathroom vanity is a DIY-friendly project if you’re comfortable with basic tools and plumbing tasks. For significant plumbing changes or repairs, it’s best to hire a professional. Watch a step-by-step bathroom vanity installation video by Family Handyman
Q2: What if my walls or floor aren’t level?
Use shims to adjust the vanity’s position until it’s level. Secure the vanity to wall studs once aligned for stability.
Q3: Do I need to install the faucet before securing the vanity?
Yes, installing the faucet and drain assembly beforehand simplifies the process and provides better access.
Q4: How do I choose the right size vanity for my bathroom?
Measure the available space carefully, accounting for door swings, drawer clearance, and bathroom traffic flow. Ensure the vanity doesn’t obstruct other fixtures.
Q5: How long does it take to install a bathroom vanity?
For most DIYers, installing a bathroom vanity takes about 4-6 hours, depending on experience and the complexity of the installation.
Q6: What should I do if I encounter unexpected plumbing issues?
Stop the installation and consult a plumber to avoid costly mistakes or water damage.
5 thoughts on “How to Install a Bathroom Vanity: A Step-by-Step Guide”