Introduction to 3 Way Switch Wiring
A 3 way switch wiring is a convenient electrical feature that allows you to control a single light fixture from two separate locations. It’s a popular choice for homeowners looking to enhance functionality and accessibility in their homes. Looking for more step-by-step guides? Explore our resource on How to Install a Bathroom Vanity to continue upgrading your home.
What is a 3 Way Switch?
A 3 way switch is an electrical device designed to provide control over one light or a group of lights from two distinct points. Unlike a standard single-pole switch, which only operates from one location, 3 way switches work in pairs, utilizing traveler wires to transfer power between switches seamlessly.
Why 3 Way Switch Wiring is Important for Homes
Installing a 3 way switch system can significantly improve the usability of your home. Whether it’s a staircase, hallway, or large room with multiple entrances, having control at two points increases convenience and safety—especially in dimly lit areas.
Common Applications: Controlling Lights from Multiple Locations
Some practical examples of 3 way switch wiring include:
- Staircases: Control lighting from the top and bottom of the stairs.
- Hallways: Turn lights on or off from either end of a long hallway.
- Large Rooms: Provide lighting control from different doorways or sections of a room.
- Garages: Enable control from both inside and outside the garage for added convenience.
How Understanding 3 Way Switch Wiring Can Save Time and Money
Learning the basics of 3 way switch wiring empowers homeowners to undertake simple electrical upgrades without hiring an electrician, saving on labor costs. Additionally, a properly installed 3 way switch system enhances energy efficiency, as lights can be turned off from either location, reducing unnecessary power usage. By mastering this skill, you’ll be better equipped to troubleshoot issues and make informed decisions during home improvement projects.
Tools and Materials Required for 3-Way Switch Wiring
Tools You’ll Need
- Screwdrivers: Both flathead and Phillips screwdrivers for versatile use.
- Wire Stripper and Cutter: Essential for preparing wires for connection.
- Voltage Tester or Multimeter: To confirm power is off and test electrical connections.
- Electrical Tape: For insulating exposed wires and securing connections.
Materials for 3 Way Switch Wiring
- 3-Way Switches (2 Units): The main components for controlling lights from two locations.
- Electrical Cable: Use 12/3 or 14/3 cable, depending on your circuit’s requirements.
- Wire Nuts and Connectors: For securing wire connections safely.
- Electrical Boxes: To house the switches and keep your wiring organized.
Pro Tip: Create a checklist of tools and materials to keep everything organized. This ensures a smoother workflow and minimizes interruptions during the installation process.
How 3 Way Switch Wiring Works
Basic Concept
A 3 way switch circuit operates by transferring power between two switches through traveler wires. Here’s how the key components work:
- Traveler Wires: These wires connect the two switches and allow the current to flow between them, enabling control from either location.
- Common Terminal: One terminal on each switch is labeled as “common,” serving as the point where power enters or exits the circuit.
- Ground Wires: These provide a safety pathway and are connected to the green grounding screws on both switches and the electrical box.
3 Way Switch Wiring Diagram
A visual wiring diagram simplifies understanding the connections. Typically, the setup involves:
- Power entering the first switch.
- Two traveler wires linking the first switch to the second switch.
- Power exiting from the common terminal on the second switch to the light fixture.
How to Identify Wires Easily
- Common Wire: Usually black and connected to the common terminal. It carries power into or out of the switch.
- Traveler Wires: Often red and black, these connect the two switches and transfer power between them.
- Ground Wire: Typically bare copper or green, ensuring safety by grounding the circuit.
Pro Tip: Use a voltage tester to verify each wire’s role before starting the wiring process to avoid errors and ensure safety.
Step-by-Step Guide to 3 Way Switch Wiring
1. Turn Off the Power
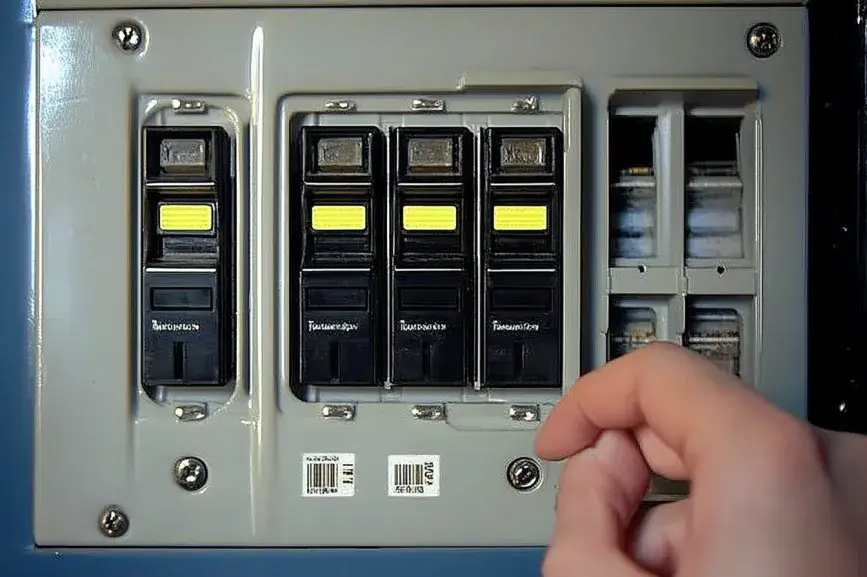
- Safety first: Locate the breaker controlling the circuit and switch it off to avoid electrical shock.
- Use a voltage tester or multimeter to confirm that the power is completely off at the work site. Double-check outlets and switches.

2. Plan Your Wiring Layout
- Decide the locations for your two switches and the light fixture. Ensure the locations are accessible and meet local electrical codes.
- Draw a wiring diagram to plan connections between the power source, switches, and light fixture. This reference will help you stay organized and minimize mistakes.
3. Run the Electrical Cable
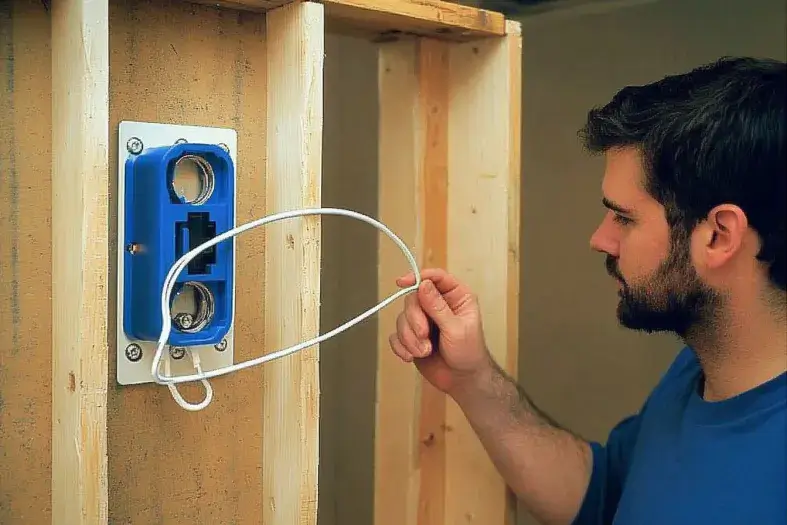
- Pull a length of electrical cable (12/3 or 14/3) between the first switch, second switch, and the light fixture. Ensure you leave extra wire at each box for flexibility.
- Use wire staples or clips to secure the cable to wall studs, keeping it neat and away from sharp edges.
- Avoid running cables near hot water pipes or other sources of heat to prevent damage.
4. Prepare the Wires for 3 Way Switch Wiring
- Strip about 3/4 inch of insulation from each wire using a wire stripper. This ensures clean, solid connections.
- Identify and label the wires. Use colored electrical tape to mark the common wire, which is crucial for accurate connections later.
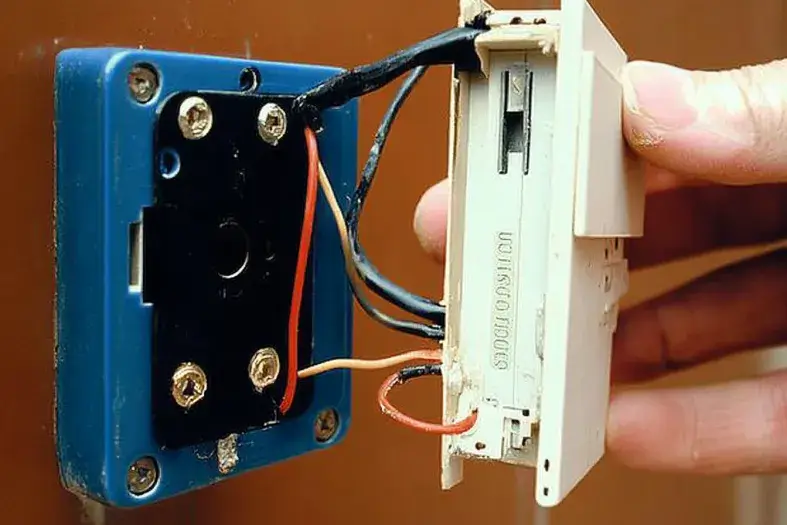
- Check for any damage to the wires or insulation and replace if necessary.
5. Connect the First Switch
- Locate the common terminal on the first switch (usually marked or a different color).
- Attach the common wire (power source wire) to the common terminal using a screwdriver.
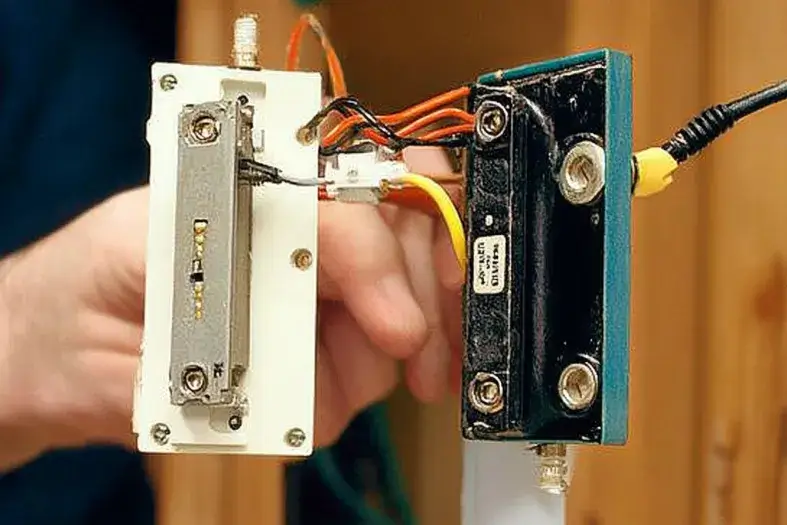
- Connect the two traveler wires to the remaining terminals. These wires will link to the second switch.
- Secure the ground wire to the green grounding screw. Ensure all connections are tight and well-insulated.

6. Connect the Second Switch
- Identify the common terminal on the second switch. Attach the common wire leading to the light fixture.
- Connect the traveler wires to their respective terminals, ensuring they match the configuration of the first switch.
- Attach the ground wire to the grounding screw on the second switch.
- Use wire nuts to cover and secure any exposed wire ends.

7. Wire the Light Fixture
- Open the light fixture’s electrical box and locate the wires.
- Attach the black (hot) wire from the second switch to the black wire on the light fixture.
- Connect the white (neutral) wire from the power source directly to the light fixture’s neutral wire.
- Secure the ground wire from the electrical box to the fixture’s ground screw.
- Use wire nuts to safely secure all connections. Ensure no copper is exposed outside the nuts.
8. Finishing Touches for 3 Way Switch Wiring
- Secure the Switches: Carefully fold the wires into the electrical boxes and attach the switches to the boxes with screws.
- Install Faceplates: Align and screw on the faceplates for a clean, finished look.
- Turn On the Power: Return to the breaker panel and turn the circuit back on.
- Test the System: Operate the switches to ensure the light responds correctly from both locations. Troubleshoot if needed.
- Tidy Up: Label the breaker controlling the circuit for easy identification in the future.
Pro Tip: If the system doesn’t work as expected, recheck the wiring connections and ensure all terminals are properly secured.
Common Mistakes in 3 Way Switch Wiring (and How to Avoid Them)
When tackling 3-way switch wiring, avoiding common errors can save you time and frustration. Here are the top mistakes to watch out for and how to fix them:
1. Misidentifying Traveler Wires
- What happens: Confusing traveler wires can disrupt the switching function.
- How to avoid it:
- Use color-coded tape or labels to identify traveler wires during installation.
- Test connections with a continuity tester before securing them.
- Pro Tip: Always consult your wiring diagram to double-check the traveler wire placement.
2. Forgetting to Ground the Switches
- What happens: Missing ground connections increases the risk of electrical shock.
- How to avoid it:
- Attach the green or bare ground wire securely to the grounding screw on the switch.
- Verify all grounding connections before finishing the installation.
- Pro Tip: A properly grounded system is not only safer but also complies with electrical codes.
3. Over-Tightening Connections
- What happens: Excessive force can damage wire insulation, leading to poor conductivity.
- How to avoid it:
- Tighten screws and wire nuts just enough to secure the connection without stripping the wires.
- Inspect all connections to ensure they’re firm but undamaged.
- Pro Tip: A torque screwdriver can help achieve the perfect balance.
Avoid these mistakes to ensure your 3 way switch wiring is safe, efficient, and long-lasting. Proper planning and attention to detail can make all the difference!
Expert Tips for Successful 3 Way Switch Wiring
Mastering 3 way switch wiring can be straightforward with the right techniques. Follow these expert tips to ensure a smooth and successful installation:
1. Use Colored Tape to Label Wires
- Why it matters: Labeling wires during installation helps avoid confusion and ensures proper connections.
- How to do it:
- Apply colored electrical tape to traveler, common, and ground wires as you identify them.
- Match the colors to your wiring diagram for easy reference.
- Pro Tip: Consistent labeling minimizes mistakes and makes future troubleshooting easier.
2. Double-Check Connections with a Voltage Tester
- Why it matters: A voltage tester ensures all wires are live and connected correctly before finalizing the installation.
- How to do it:
- After connecting the wires, test each terminal to verify proper voltage flow.
- Use the tester to confirm the common terminal is receiving power.
- Pro Tip: Testing connections before closing the circuit can save you from costly errors later.
3. Consult an Electrician if Unsure
- Why it matters: Incorrect 3 way switch wiring can pose safety hazards or lead to functional issues.
- How to do it:
- If you’re uncertain about the process, call a licensed electrician for guidance or installation.
- A professional can ensure your wiring meets code and operates flawlessly.
- Pro Tip: Don’t hesitate to invest in expert help to guarantee safety and reliability.

Frequently Asked Questions About 3 Way Switch Wiring
What is a 3 way switch, and how does it work?
A 3-way switch is a type of light switch that allows you to control a single light fixture from two different locations. It works by using two switches connected through traveler wires and a common terminal, enabling the circuit to open or close from either switch.
Where is 3 way switch wiring most commonly used?
3 way switch wiring is typically used in areas where controlling lights from multiple locations is convenient, such as:
- Hallways
- Staircases
- Large rooms with multiple entry points
Can I use a 3 way switch as a single-pole switch?
Yes, a 3 way switch can function as a single-pole switch, but only one traveler wire and the common terminal will be used. However, this setup limits the switch’s functionality, so it’s better to use a dedicated single-pole switch if dual-location control is not needed.
What’s the difference between 3 way switch wiring and single-pole wiring?
- 3 Way Switch Wiring: Allows control of a light fixture from two locations and uses traveler wires, a common terminal, and two switches.
- Single-Pole Wiring: Controls a light fixture from one location with a single switch and has a simpler wiring setup.
How can I troubleshoot issues with 3 way switch wiring?
To troubleshoot 3 way switch wiring issues:
- Test the connections: Use a voltage tester to check for proper current flow.
- Inspect traveler wires: Ensure they are not swapped or damaged.
- Check the switches: Replace faulty switches if they no longer function correctly.
- Consult a professional: If the issue persists, call an electrician for expert help.
Video Tutorial: Step-by-Step Guide to 3 Way Switch Wiring
For a visual walkthrough of the 3 way switch wiring process, you can watch the following video: this YouTube tutorial provides a clear explanation of 3 way switch wiring, including diagrams and troubleshooting tips from The family handy man.
Disclaimer: The resources and links provided are for informational purposes only. All trademarks and copyrights belong to their respective owners.”
Conclusion: Mastering 3 Way Switch Wiring
Mastering 3 way switch wiring is an essential skill for anyone looking to enhance their home’s lighting functionality. Here’s a quick recap of the key steps:
- Identify and label all wires correctly, including traveler, common, and ground wires.
- Secure all connections with the right level of tightness to ensure reliability without causing damage.
- Test your setup with a voltage tester before finalizing the installation.
Safety and precision are paramount in any electrical project. Always follow proper wiring techniques and consult a licensed electrician if you’re unsure about any part of the process.
We’d love to hear from you! If you have any questions or experiences to share about 3 way switch wiring, drop a comment below. Your insights and feedback can help others in their electrical projects.


2 thoughts on “DIY 3 Way Switch Wiring: Simplified for Homeowners”